Leveraging external libraries like node-fetch within Canonic's Code Editor can greatly enhance the functionality of your workflows, especially for making HTTP requests.
Overview
node-fetch is a lightweight module that brings window.fetch to Node.js. It's an ideal choice for making server-side HTTP requests in your Canonic workflows.
Adding node-fetch
- Identify the Requirement: Determine if
node-fetchis suitable for your HTTP request needs within the workflow. - Library Inclusion: Add
node-fetchto your workflow. Usually, this involves a require statement, assuming the library is available in Canonic's environment.
Example: Making HTTP Requests with node-fetch
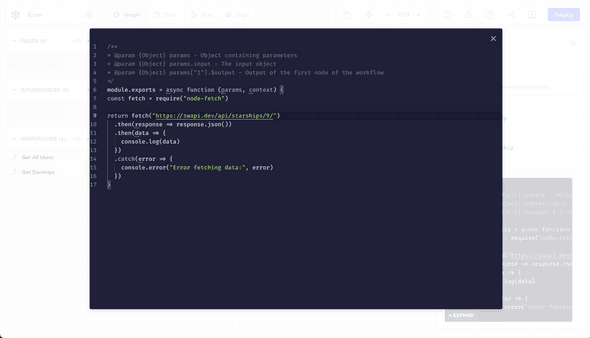
Here's how you can use node-fetch to make HTTP requests:
Importing node-fetch
const fetch = require("node-fetch")Using node-fetch for a GET Request
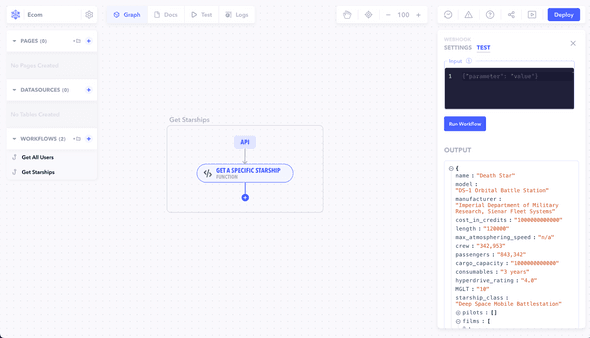
This code snippet demonstrates making a GET request to an API and logging the response.
fetch("https://swapi.dev/api/starships/9/")
  .then(response => response.json())
  .then(data => {
    console.log(data)
  })
  .catch(error => {
    console.error("Error fetching data:", error)
  })
Testing and Debugging
- Testing: Test the node after adding
node-fetchto ensure it interacts correctly with external APIs. - Debugging: Use debugging techniques like logging to troubleshoot any issues with the HTTP requests.
Best Practices
- Handle Responses and Errors: Ensure proper handling of both successful responses and errors in your fetch requests.
- Check Compatibility: Verify that
node-fetchis compatible with your workflow's Node.js environment. - Monitor Performance: Be mindful of how your HTTP requests affect the workflow's performance, especially if making multiple or frequent requests.
Note: While
node-fetchis a powerful tool for making HTTP requests, it's important to use it wisely to maintain the efficiency and reliability of your Canonic workflows.

