Introduction
You often want to override one or more of the theming options based on dynamic conditions. For example, setting the color of the text based on the status (green if it's approved and red if it's denied).
This can be useful to dynamically modify how a component looks.
Adding an override
- Click on the component you want to theme.
- Click on the
OVERRIDEStab on the properties panel. - Click on
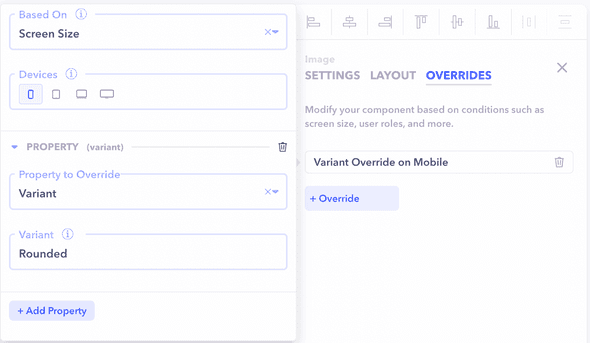
+ Overrideto add a new override. - Select what the override would be based on - the screen size or an expression.
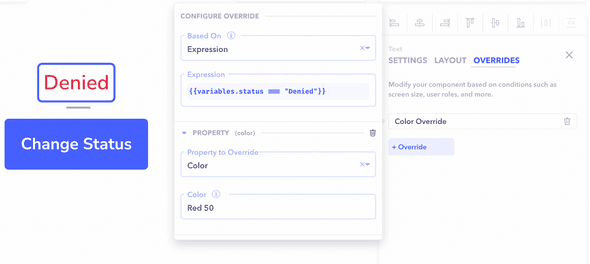
- If the override is based on an expression, add a condition that evaluates to
true/false. This condition can be dynamic. - If the override is based on the screen size, choose which screen size to apply the override on.
- Choose the property of the component you want to override.
- Change the desired property value.
Note: You can add as many variations as you like. They cascade in order the last variation in the list overrides the previous and so on.
Example
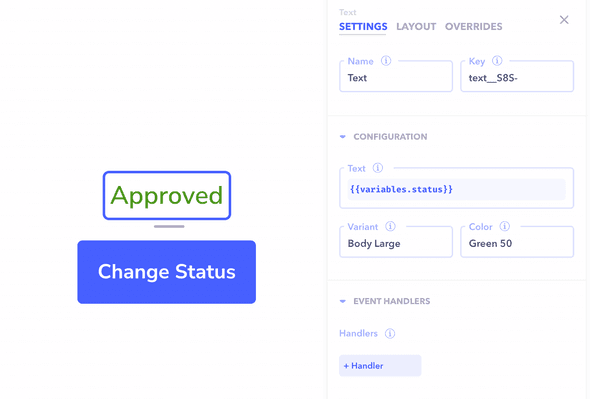
In this example, we will go over how we can override certain properties of components based on a particular condition. We have a text component which shows the status as Approved or Denied. Initially the color of the text is set to Green.
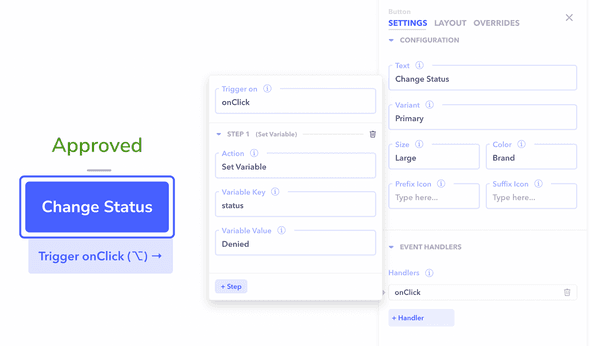
- Create a button component and attach an onClick handler to change the status to
Denied.
- Add an override to the text component to change the color of the text to
Redif the status isDenied.
- Click on the button and observe that the color of the text changes to
Red.


