Overview
Handlers are essential to add logic and functionality to the frontend components. Each handler can be triggered on a certain event and can perform certain actions in steps.
Example: Defining handlers for a text input
A text input can have several handlers. These handlers can be triggered on onChange, onFocus, onButtonClick, etc. Defining these handlers is fairly straightforward and allows us to perform certain actions based on these triggers.
Create a text input
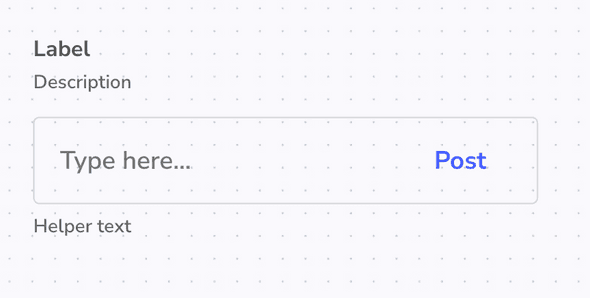
- Drag and drop a text input onto the canvas.
- Add some text in the
Button Textinput under Properties panel likePostorWrite.
Create an onFocus handler
An onFocus handler can be useful sometimes to make dynamic UI changes, like showing some extra options or buttons when the text input is focused.
- Click on
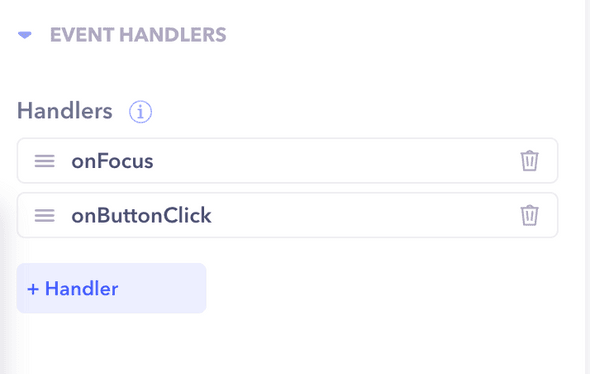
+ Handlerto create a new handler under the Properties panel. - Choose the
onFocustrigger. - Set an action for the
onFocustrigger like setting a variable or showing an alert.
Create an onButtonClick handler
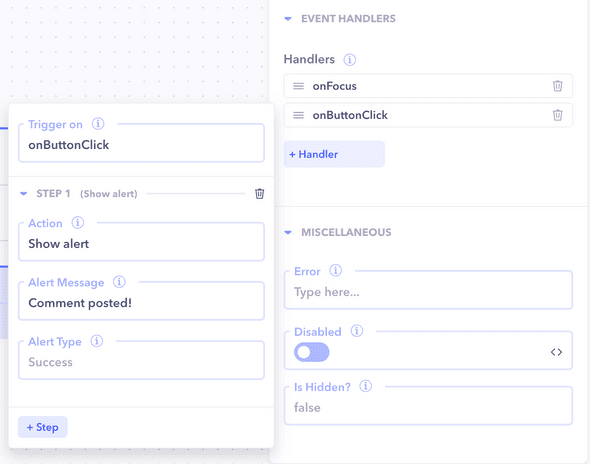
Maybe you want your text input to have a button attached to it. For that purpose, we have the onButtonClick handler. It works like a simple button which when clicked triggers the handler.
- Click on
+ Handlerto create a new handler under the Properties panel. - Choose the
onButtonClickhandler. - Set an action for the
onButtonClicktrigger like executing a workflow to add or update an entity, or to simply show an alert or a confirmation.
Similarly, other handlers can be defined for the text input to define logic and add functionality to the components.


