Overview
In order to make the data in your frontend dynamic, it is essential to connect your components to a datasource. Let's look at how we can link a component to a datasource with an example.
Example: Rendering dynamic radio options
In this example, we will render the options for the Radio input component dynamically. In order to do that, we need to connect to a datasource.
Creating an endpoint / workflow
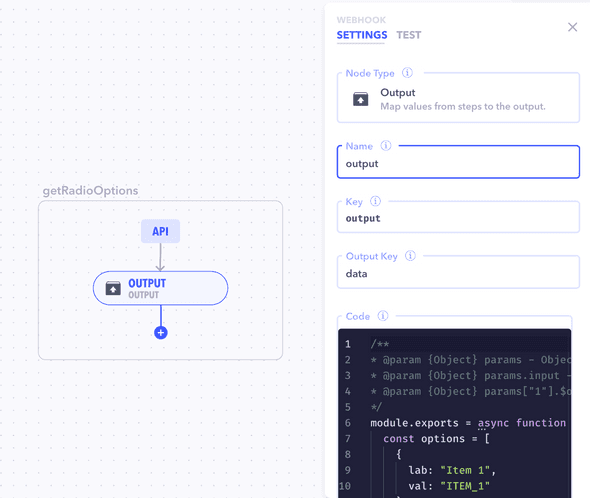
In order to get the radio options from a datasource, we need to establish a workflow or an endpoint from which this data can be fetched. For our example, we are just going to return an array of options from the workflow.
- Create a workflow and select an Output node.
- Add the following code to the output node code editor -
module.exports = async function (params, context) {
  const options = [
    {
      lab: "Item 1",
      val: "ITEM_1",
    },
    {
      lab: "Item 2",
      val: "ITEM_2",
    },
    {
      lab: "Item 3",
      val: "ITEM_3",
    },
  ]

  return { options }
}
Rendering data from datasource
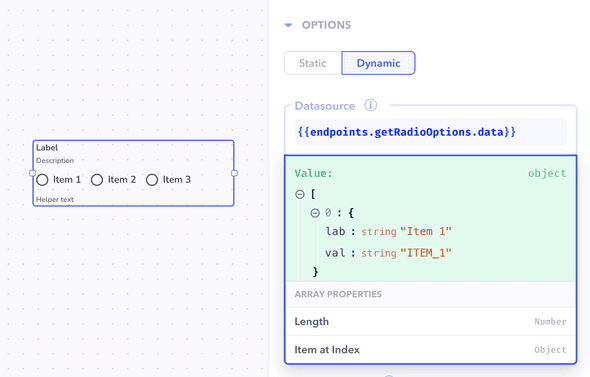
- Drag and drop the Radio input component onto the canvas.
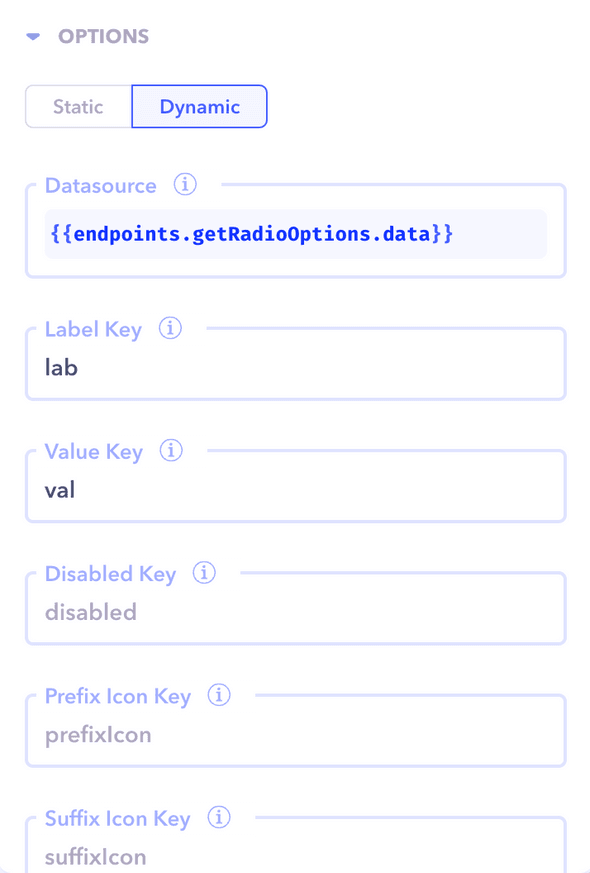
- Under the Options section, choose the
Dynamictab. - In the Datasource input, choose the newly created workflow. For our example, we will enter
{{endpoints.getRadioOptions.data}}. - Add the
Label KeyandValue Keyaslabandvalaccording to our options array. This is to map the label and value keys to the options array being returned from the workflow. Similarly, we can add keys for Prefix icon, Suffix icon and so on.
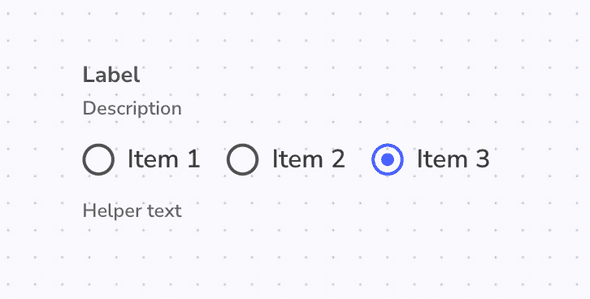
Your radio options should now get rendered properly.


