Overview
Forms are important when it comes to creating or updating some data and it is essential to understand how data in forms can be submitted.
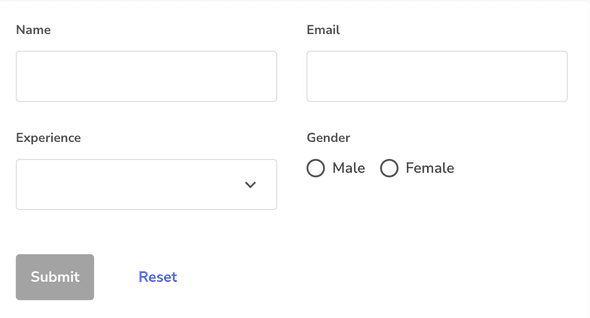
Example: Building a simple Create User form
Here's how you can build a simple create form.
Create the form fields
- Drag and drop the form component onto the canvas.
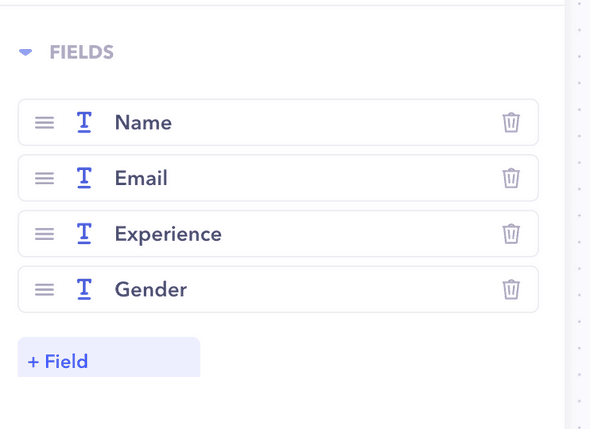
- Under the fields section in the properties panel, click on
+ Fieldto create a new form field. - Add the form label, type of field and key. This key should match the key of the data that you're storing via the workflow. For example, name, email, experience, etc are the keys used while creating the User table.
Submitting the form
In order to submit the form properly, we need to follow these steps:
- Create an
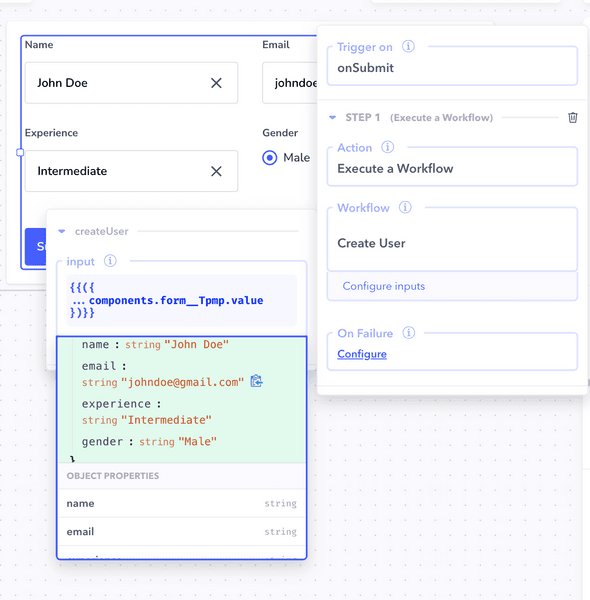
onSubmithandler for the form. - Select Execute workflow action and choose
Create Userworkflow from the dropdown. - Configure the input for the workflow. For inputs we use the syntax
{{()}}. Inside the brackets we can then write out our object with the necessary keys. - Since the form component already stores the keys of the fields, we can directly spread the value of the form component. To do so, we use
...components.[form-key].value.
In this way, you can correct submit the form data.
Things to note
- If you are building your custom form using input components like text, image, etc, it is essential to specify the keys of each individual component in the input for the workflow that is being executed on submit of the form.
- For example, the input in the onSubmit of a workflow for a custom form with keys
nameandavatarwould look like this:
{{(
{ name: components.[text-key].value,
avatar: components.[image-key].value
}
)}}- Here, the text-key and the image-key are the keys of the input components used in the form.
Best Practices
- Showing a success alert - Whenever you are submitting form data and executing a workflow, it is best to show some sort of confirmation to the user that the data got submitted properly. In order to do so, a success message in the form of an alert can be added as an additional step in the
onSubmithandler. - Refreshing Component - Like the success alert, it is also best practice to refresh the component rendering the data that is being submitted. In order to do so, add an additional step in the
onSubmithandler.
For example, refreshing the Table component displaying the list of Users after the Create user form is submitted to show the newly added user.


