Overview
The menu component is a fundamental element for creating an intuitive navigation experience in your application.The menu component serves as a navigational bar typically positioned at the top of the page. It facilitates easy access to various sections of your application. Whether you're working on a single-page or multi-page app, the menu component provides a structured way for users to navigate through your content.
Here's how you can build a simple Navigation menu.
Utilizing the Navigation Menu
Drag and Drop Placement:
Begin by dragging and dropping the Navigation Menu component onto the canvas.
Adding Application Title or Logo:
Customize the menu by incorporating the title or logo of your application. Utilize the designated drop zones on the left and right sides of the Navigation Menu for this purpose.
Configuring Display:
Set the configuration options to tailor the menu's appearance according to your preferences.
Menu Items:
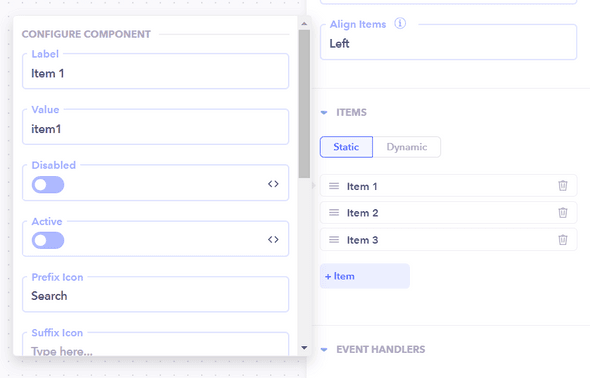
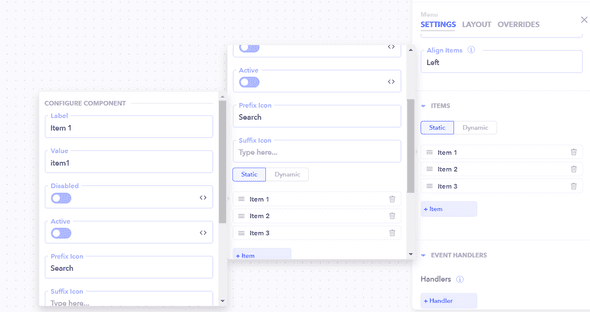
Specify the items you want to display in the navigation menu by populating the "Menu Items" section. Add icons to menu items for a visually enriched experience.
Sub Menu Items:
Enhance navigation depth by including sub-menu items. Add these items in the "Sub Menu Items" section. Attach icons to sub-menu items for visual clarity.
Event Handlers:
Implement event handlers to menu items and sub-menu items. Define actions that trigger upon interaction by adding event handlers in the respective sections.


