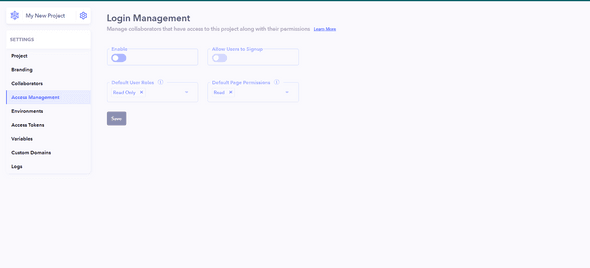
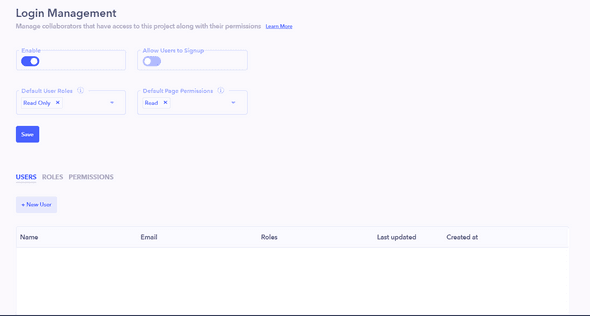
The Access Management section allows you to control collaborators' access to the project and define their permissions.
Enabling the toggle option provides additional settings for managing access to the project.
You can set default values for user roles and page permissions for individuals entering the project.
Users
In this section, you can manage users who require access to the project. You can view and edit their roles, and remove users if necessary.
Add a new user :
- Click on the + New User button.
-
In the popup, provide the following information:
- Name
- Password for login
- Assign roles to the user.
Roles
Roles help define different levels of access. You can add, edit, or delete roles based on your project's requirements.
Add a new role :
- Click on the + New Role button.
-
In the popup, perform the following actions:
- Enter the name.
- A key will be generated automatically.
- Select permissions for the role.
- Set page access preferences for the role.
Permissions
You can add permissions for the project by default, there are read and write permissions.
Add a new permission :
- Click on the + New Permission button.
-
In the popup, perform the following actions:
- Enter the name.
- A key will be generated automatically.
Enable or disable Allow Users to Signup . When enabled, external users can access the project through the URL by signing up. If disabled, access is restricted to users listed in the project's user table.


