Introduction
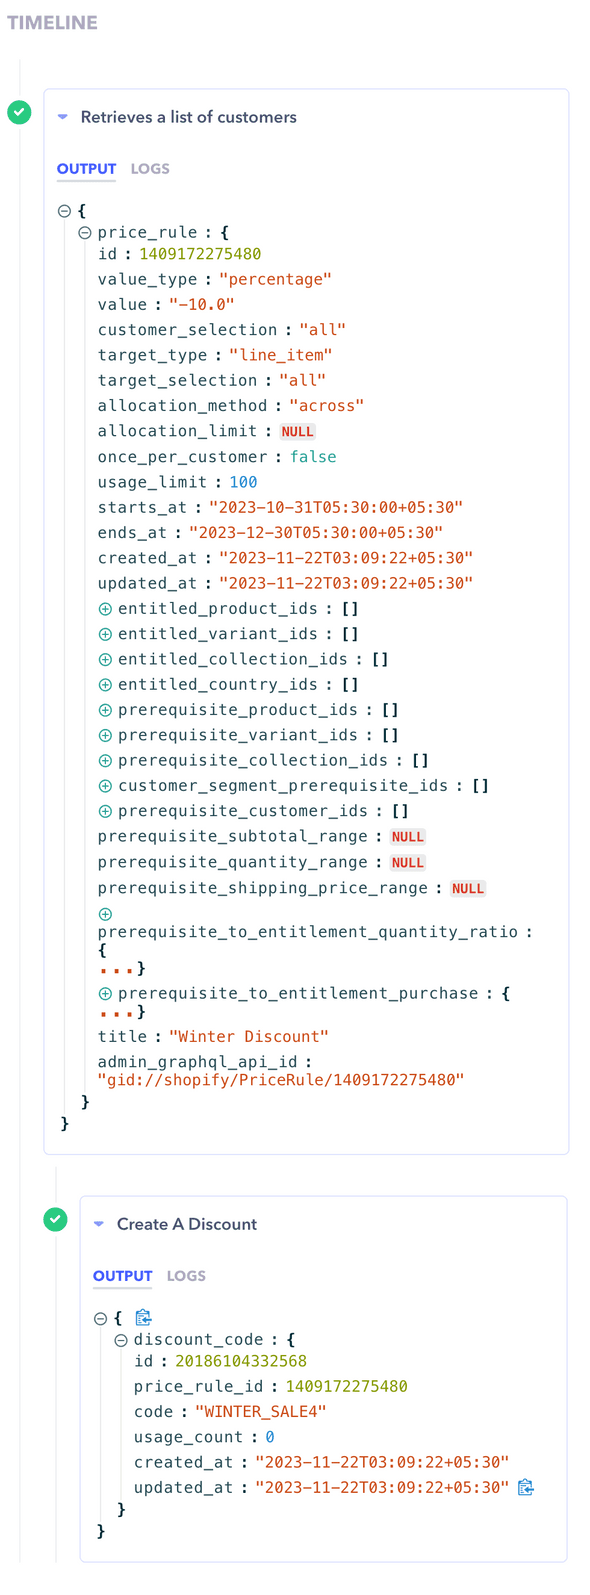
Workflow Testing in Canonic is a crucial feature that enables you to validate the logic and output of your entire workflow. This feature tests all the webhooks within the workflow and presents the outputs in a structured timeline, providing a comprehensive overview of the execution flow and results.
How to Test a Workflow
To test a workflow:
- Navigate to the workflow you wish to test.
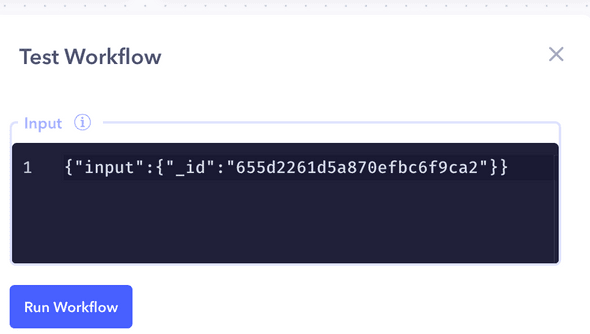
- Provide custom JSON input in the Input panel if necessary. This allows you to simulate the data that the workflow would receive during normal execution.
- Click on the
Run Workflowbutton to initiate the testing process.
Understanding the Testing Interface
- Input Panel: Here, you can provide the JSON input that will be passed to the workflow.
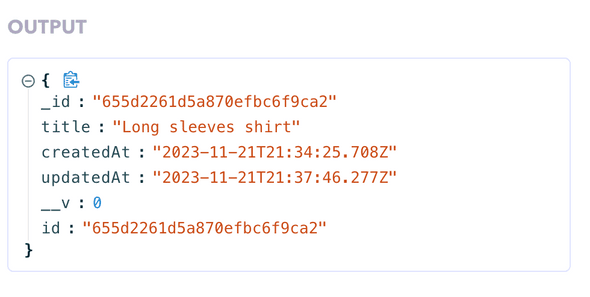
- Output: After running the workflow, the output for each webhook is displayed. You can review this to ensure each step is performing as expected.
- Timeline: The timeline provides a sequential view of the webhook executions within the workflow. It is helpful for understanding the order of operations and debugging any issues that arise during the test.
Best Practices
- Test your workflow with various input scenarios to cover different execution paths.
- Review the timeline and outputs carefully for each webhook to verify the expected flow and data transformation.
- Use the insights from testing to refine and optimize your workflow for better performance and reliability.
Note: Workflow testing is a powerful way to debug and improve your automations within Canonic. Take advantage of this feature to build robust and error-free workflows.


