Introduction
Workflows define how a process is triggered and initialize the process with basic data. You can configure a workflow to be triggered through an API endpoint or changes to external integrations.
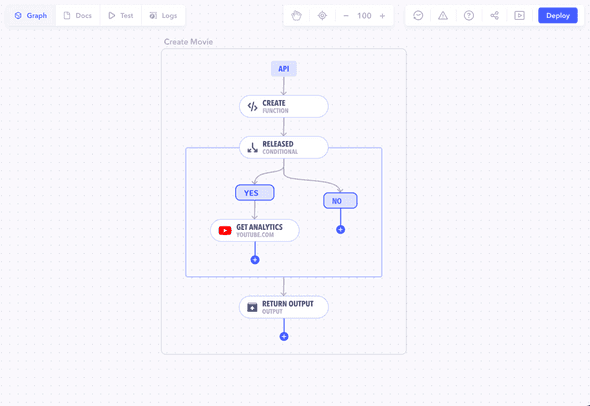
A Workflow is the starting block for a process or an automation.
Example: A
createMovieworkflow would take in movie parameters and create a movie with those parameters.
Creating an Workflow
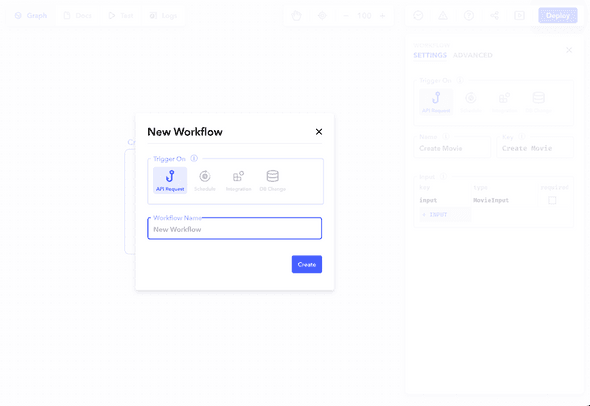
Create a workflow by clicking on the + button in the navigation panel next to its header.
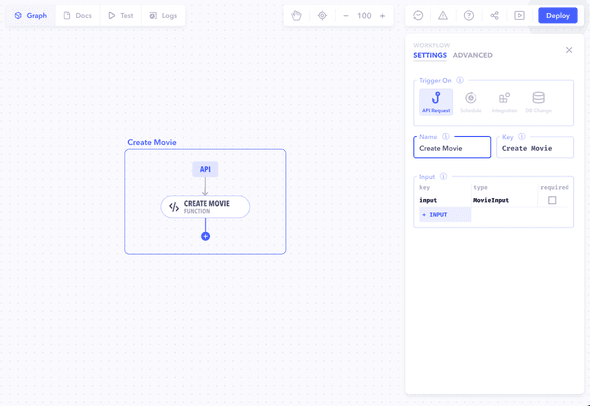
You will see a new workflow pop up on the graph with the properties panel for the workflow visible on the right side. Fill out the properties. Once done, close the properties panel to save your changes.
New workflows won't be available in already live APIs unless published. See [Publishing] for more information.
Editing a Workflow
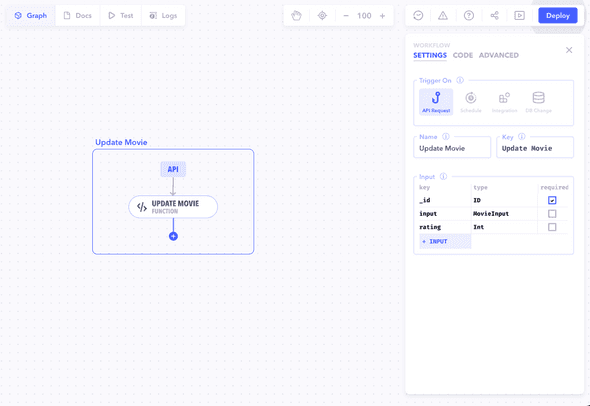
You can edit a workflow by clicking on the workflow node on the graph. The properties panel will open up where you can edit all necessary properties.
Note: Some properties are editable but are not recommended to be edited once you go live with your project as they can cause loss of data. You will be shown a warning when performing such actions.
Note Although changes are saved automatically, they must be published for them to reflect in the Docs and be available for consumption.
Deleting a Workflow
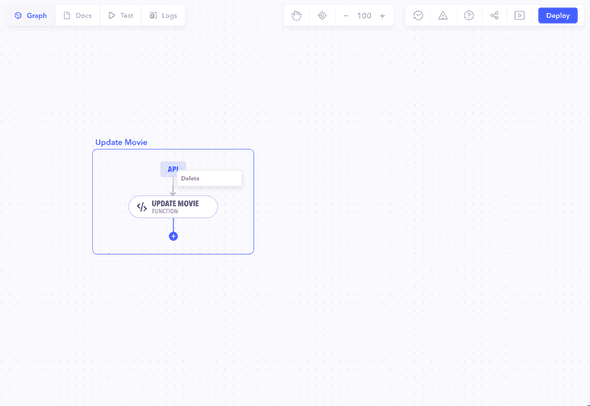
A workflow can be deleted by simply right-clicking on the workflow and selecting delete.
Caution! This is a dangerous action and can cause permanent loss of data once the graph is published.
