Introduction
Integrating Google Sheets with Canonic allows you to seamlessly insert and update data in your spreadsheets directly from your workflow.
Preparing Google Sheets
- Create/Select a Sheet: Start with an existing Google Sheet or create a new one.
- Define Columns: Ensure your sheet has clearly defined columns that correspond to the data you will insert or update.
Setting Up the Integration in Canonic
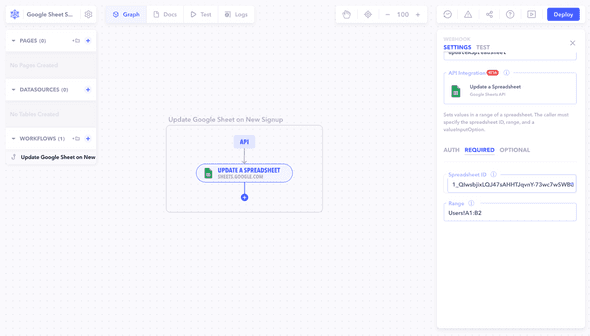
- Add Integration Node: In your Canonic workflow, add an integration node and select Google Sheets.
- Configure Authentication: Set up the authentication details to access your Google Sheets.
- Specify Sheet and Range: Enter the details of the specific sheet and cell range you will be working with.

Inserting Data
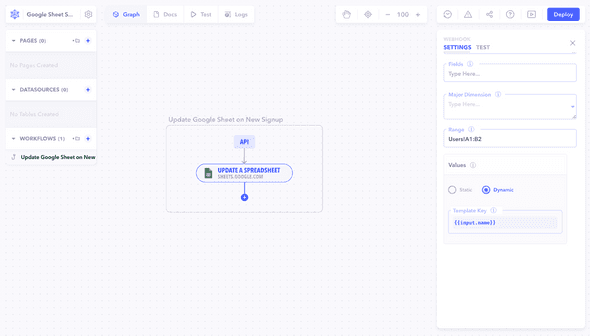
- Map Fields: In the Canonic Google Sheets webhook configuration, map the fields from your webhook to the corresponding columns in Google Sheets.
- Test Insert: Execute the node with test data to ensure data is correctly inserted into the sheet.
Updating Data
- Identify Record: Use a unique identifier, like an ID or timestamp, to find the record that needs updating.
- Map Updated Fields: Map the updated fields from your workflow to the Google Sheet.
- Test Update: Execute the node to ensure the data is correctly updated in the sheet.
Testing and Validation
- Execute Workflow: Run the complete workflow with test data to check both insertion and updating.
- Verify Sheet Data: Check your Google Sheet to ensure that data is accurately inserted and updated.
Best Practices
- Regular Syncing: Ensure your workflow and Google Sheets are regularly synced to avoid data discrepancies.
- Optimize Performance: Be mindful of API limits and optimize your workflow to avoid performance bottlenecks.
Note: Integrating Google Sheets with Canonic enhances your workflow's capability to manage data dynamically. It's important to set up the integration carefully and test it extensively for seamless data handling.
