Each project is a self-contained group of pages, workflows and datasources.
Essentially an entire full-stack app!
Creating a new project takes only a few seconds.
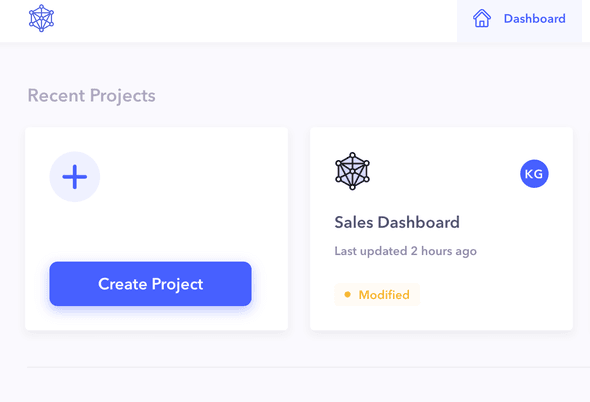
1) Click + Create Project
You can start creating a new project by clicking on the + Project button on the dashboard or from the all projects view.
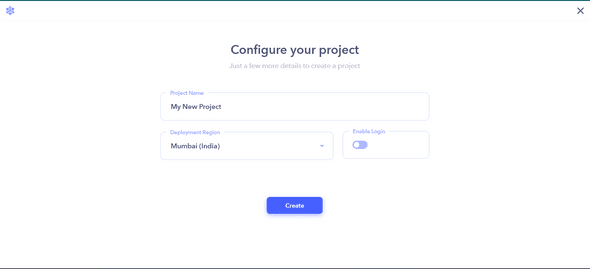
2) Name your project and select a region
Enter an identifier for your project and select the region where you would like all your project data to be stored. If you want to enable login, which ensures that the project you build can only be accessed through login, after configuring this setting, click on the Create button.
That's it! Your new project should automatically open up.

