Blog / APIs
Generating API Endpoints with Canonic's Backend Builder
The basic REST APIs are automatically generated by Canonic, you can either modify APIs or create new ones. In this blog, I will walk you through the process of creating endpoints for your database table in Canonic, step-by-step!

Tanisha Chouhan
Canonic: The simplest way for agile teams to build internal tools. This guide will narrate how to create endpoints in the database table of Canonic.
If you haven't already created the database table on Canonic Graphic, then head over to our step-by-step guide on creating a database table.
How to Create a Database Tables in Canonic
Once you’ve modeled your database in the form of tables on the Graph, it’s time to build API and API workflows to interact with your database.
You get a head start on developing with Canonic's automatic creation of some basic CRUD APIs.
Canonic automatically generates basic REST APIs for immediate consumption. By navigating through all the endpoints, you can view sample requests and responses, along with the supported parameters.
Automatically generated APIs:

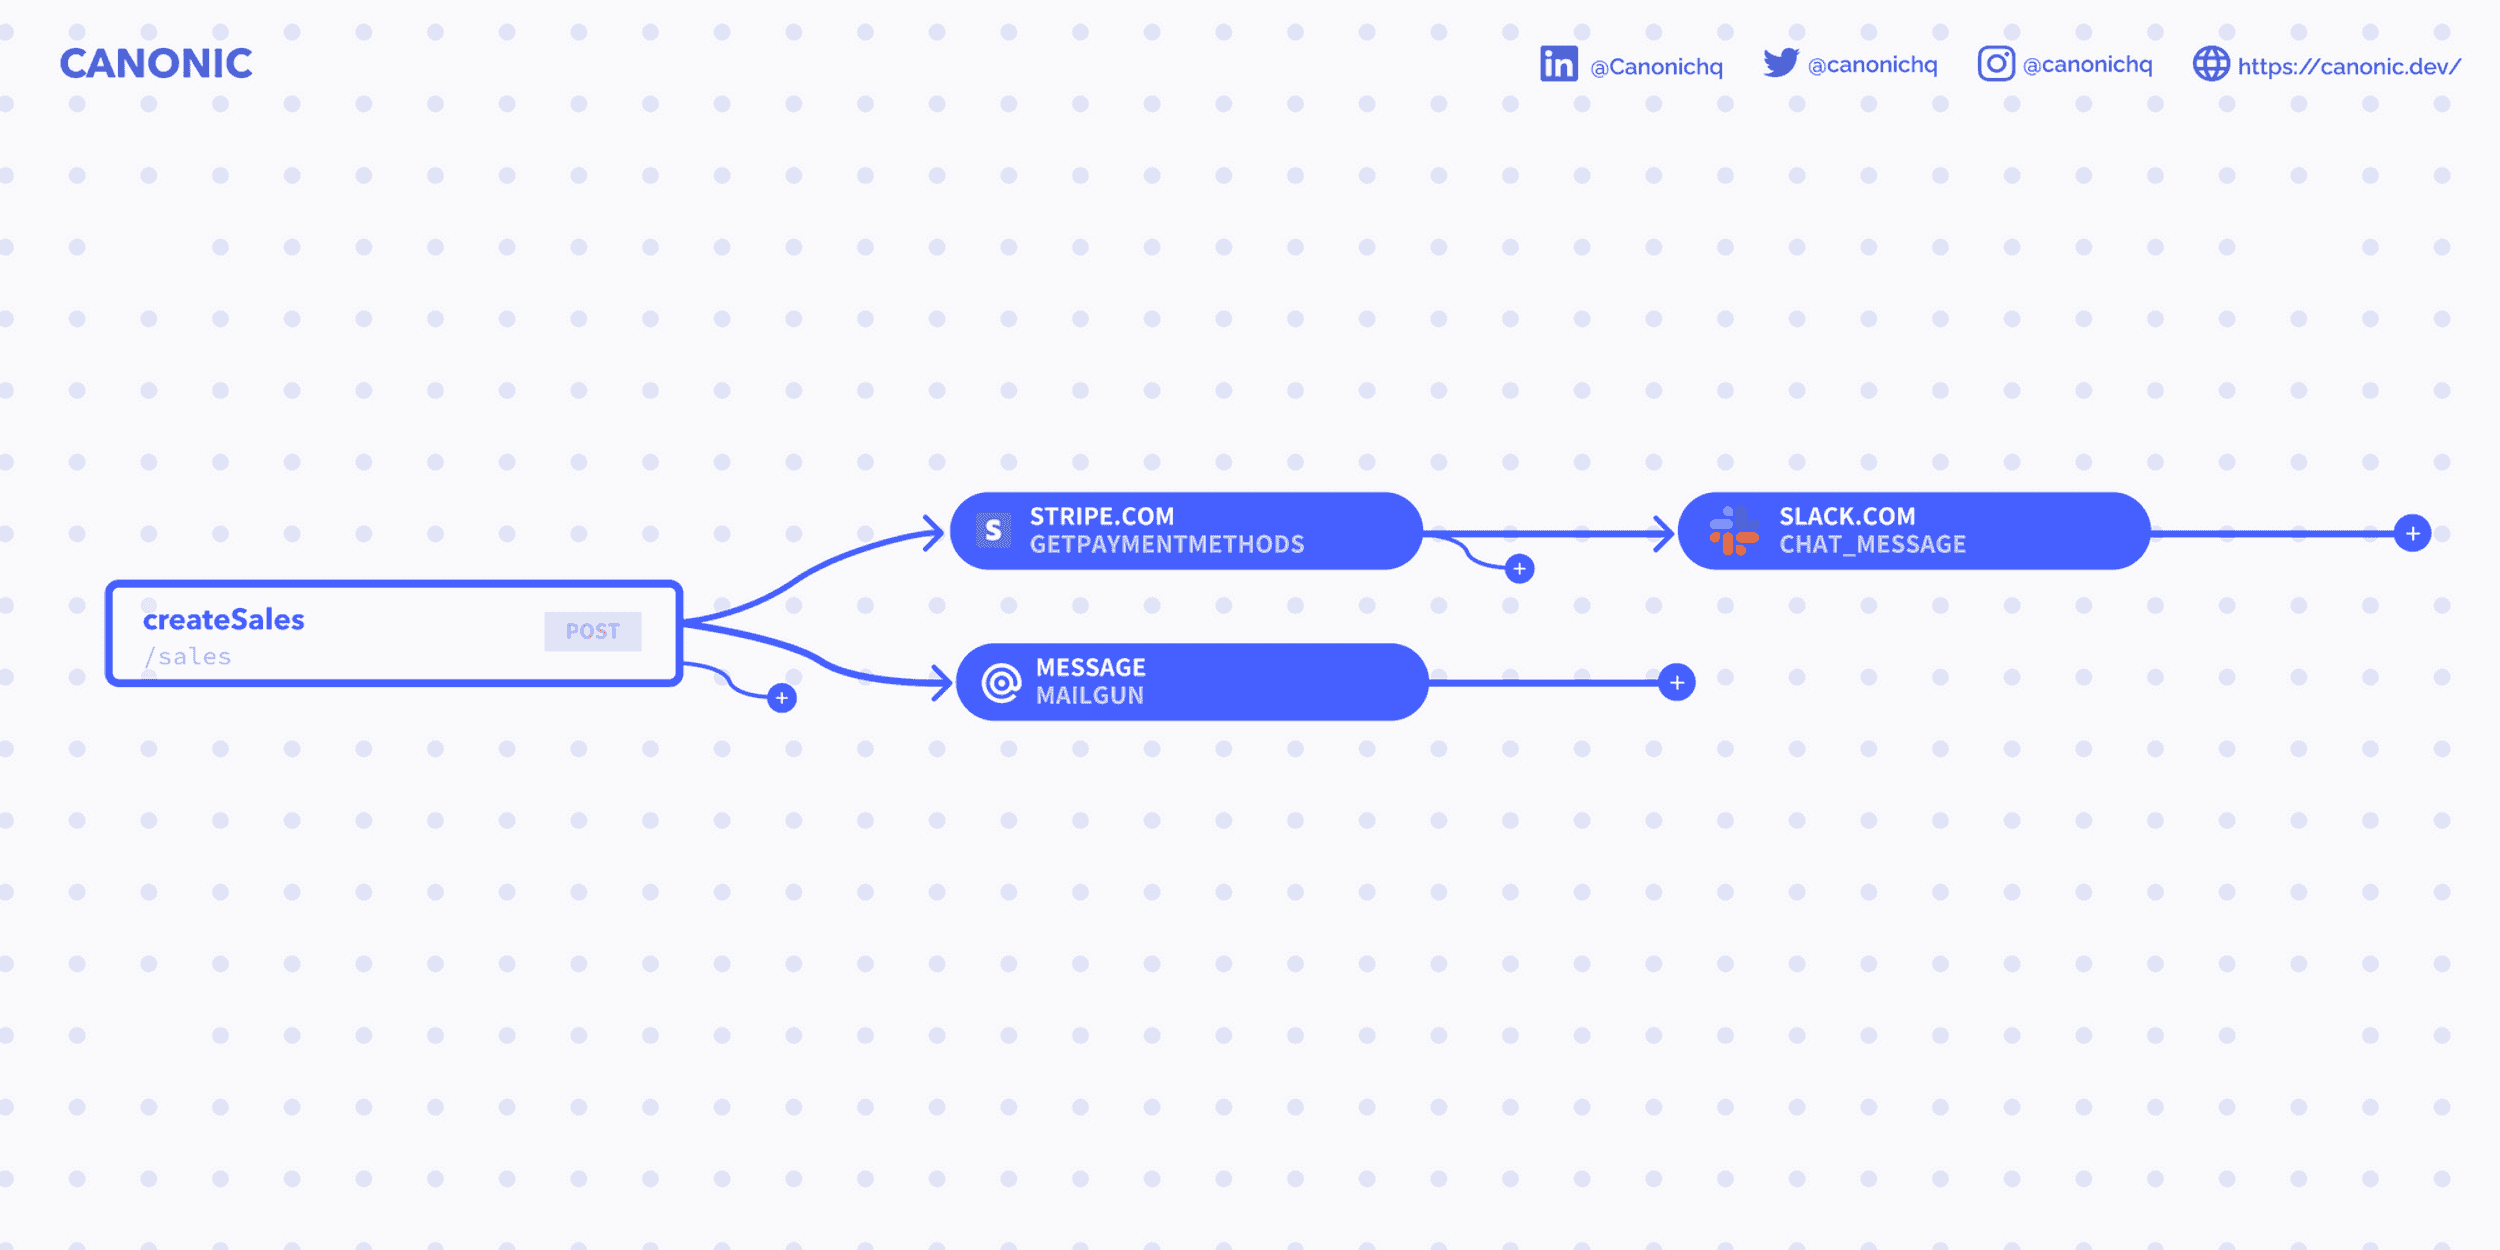
However, that's not all. Canonic also allows you to modify these base APIs as well as create new ones. In addition, you can chain multiple APIs and webhooks together for a complete and dynamic workflow that integrates with a variety of 3rd party services. 🥁
Step 1: Adding Endpoints
Click the + icon on the left-hand panel and select ENDPOINT:

Step 2: Define settings and details of the project
Once you’re inside the ENDPOINT tab, you’ll see a settings panel on the right-hand side, something like this 👇

Let’s first look into the setting tab -
The setting tab consists of below six fields for you to fill according to your product’s needs and features.
TITLE - The desired name of the endpoint (eg. login)
KEY - Identifier of the endpoint which is preferable in camelCase
REST API PATH - The path where you wish to access this endpoint. Here you can choose the method type you wish for the endpoint.
GET, POST, PATCH, DELETE, PUT

INPUTS - List input parameters required by the API. A JSON representation defining the input for the endpoint. The keys represent the input parameters and their values represent their respective types.
This allows you to add your own business logic to endpoints, or to create new endpoints completely to develop a backend that is incredibly complex and powerful.
OUTPUT Type - Whether the endpoint will return a list of items or a single object. Endpoints must return the same type as the parent table they're created under.
There are three Output Types:
- LIST: Returns a list of record
- STANDALONE: If there’s only a single data point per obj
- CUSTOM: Define the custom structure that will be returned by the API

Step 3: Adding the Business Logic
Let’s move to the second tab which is the Code sections.
In the code tab, you can define/write your code for the endpoint. Here you can define a module export and add your business logic to the function. 📈

By using our built-in code editor, you can add complex solutions which are not possible through the UI and are able to deliver unique applications with much fewer efforts and improve your game in speed development and delivery.💃
The language used by the code editor - Currently, Canonic only supports Javascript (Node).
You can also Integrate external REST API Endpoint in Code Editor. Know-how in this dedicated step-to-step guide👇
Integrating external REST API Endpoint in Code Editor
Step 4: Exploring the ‘Advance’ tab:
You’ll have the major two features for your project:
- Description - A description of the API summarizing its intent. It's used in the generated documentation for helpful direction when using the endpoint
- Wait for webhooks - If webhooks are added, you can wait for the webhooks to complete before returning. The webhook data is returned inside the extensions field when turned on.

And with that, you’ve added Endpoints to your database table💃
Hope you’re able to build the tables and add endpoints for your projects at ease.
If you have any suggestions, or feedback for us please feel free to reach out, it’s always great to hear back from you.👯♀️
Give Canonic a try? 🚀

🔥 Featured
Querying data on your Canonic database!
In this blog, I will be walking you through how to perform some basic queries on your canonic projec...

Pratham Agrawal
Tue May 24 2022 • 6 min read

APIs
How to Test Low Code APIs using Canonic?
Low-code programming represents underlying code and functionality visually in a graphical user inter...
Pratham Agrawal
Thu Apr 21 2022 • 3 min read

Informative
AI is the new UI
With the emergence of generative AI, user interfaces are changing rapidly. Here's a breakdown of how...
Tanisha Chouhan
Mon Jul 03 2023 • 5 min read
Enough said, let's start building
Start using canonic's fullstack solution to build internal tools for free